Welcome!

Welcome to my blog! Add me as a friend on Facebook! You can also folow me on Twitter. If you have any questions on quilting, I can try to answer them for you, or you can check out my FAQ, or email me at skippitydodahquilts@yahoo.com

Happy Quilting!

About Me

My photo
I'm just a new wife who has an obsession with my sewing machine! In Oct. 2010, my mother and I created my first sewing project - Euro pillow shams. I was hooked! I read everything I could get my hands on that had to do with sewing! Books, magazines, online tutorials. I experimented and found that I get so much enjoyment from making quilts, and that it's where I found my niche. I'm still a beginner, but I've learned so much in just 5 short months, that I want to share it with someone!

Thursday, June 30, 2011

Color Wheel - Slacking!

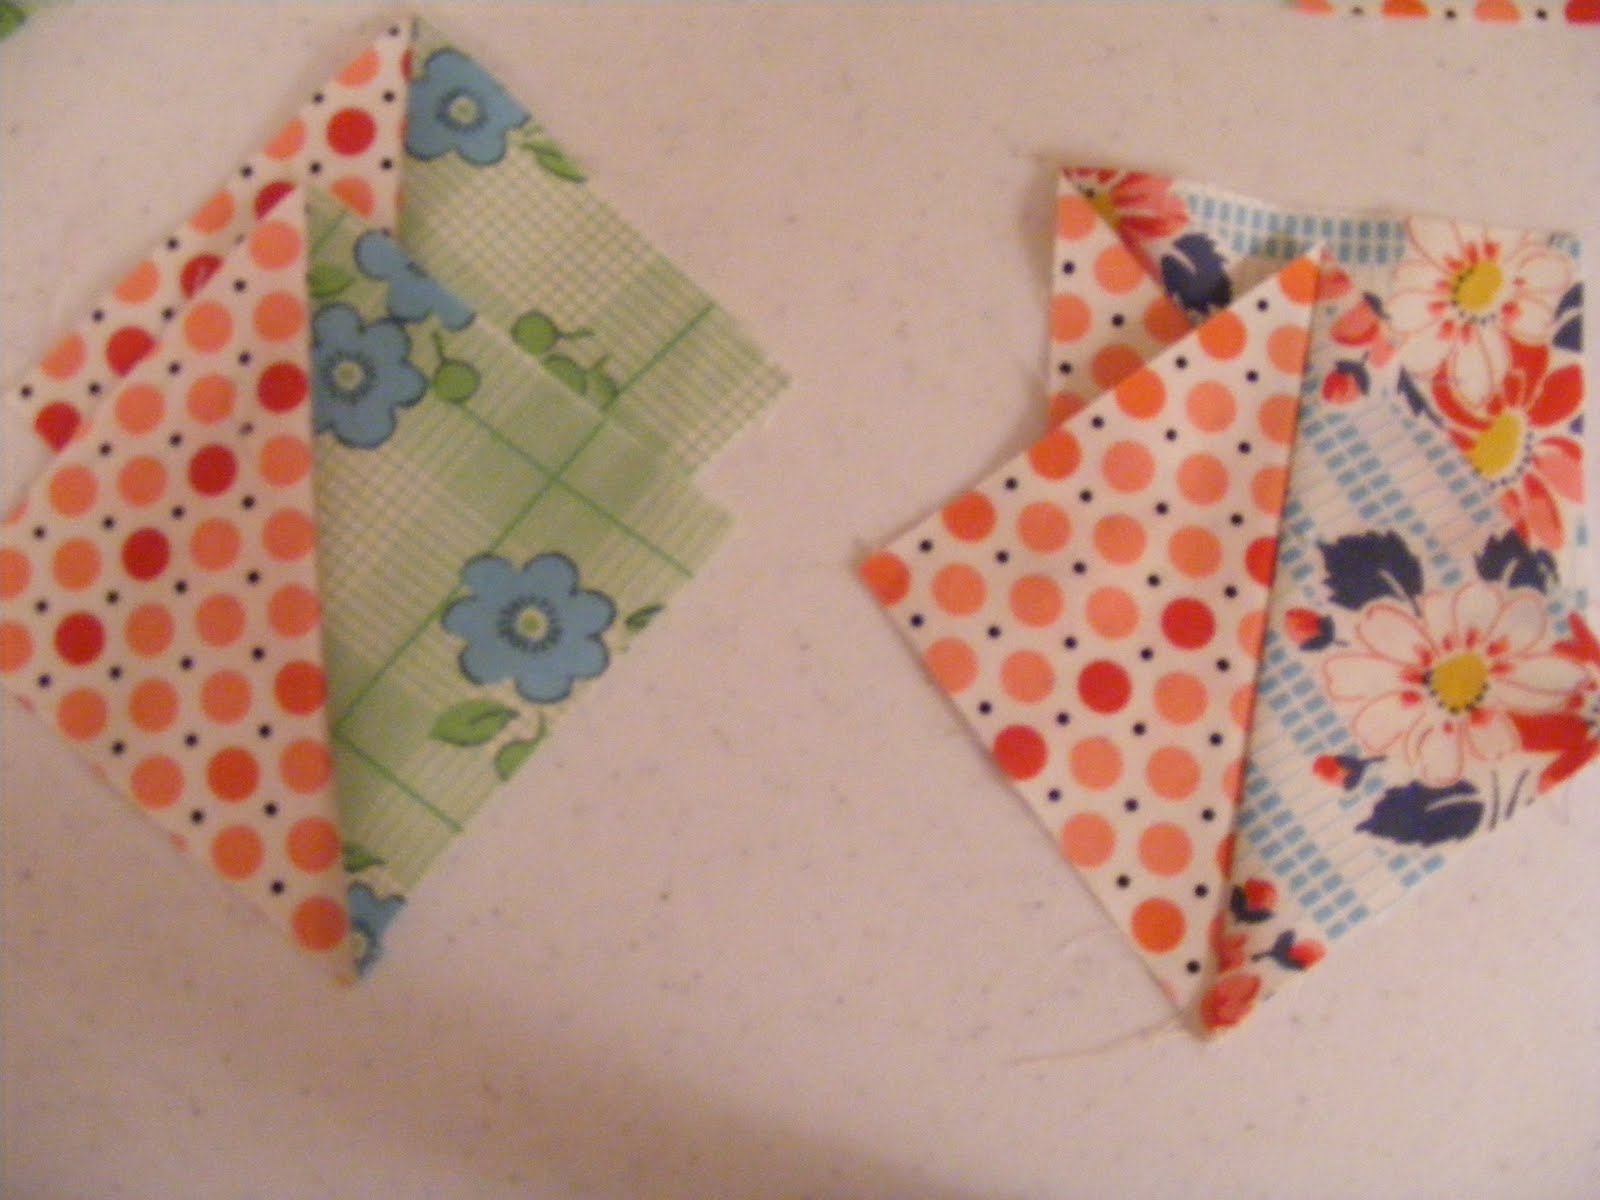
Okay, so some of your remember when I started on this color wheel.

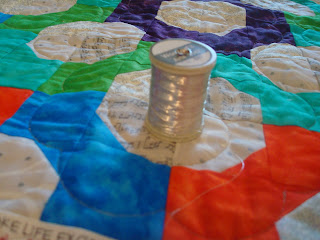
The quilting is almost done. I have to pick out a little bit at the top. I wasn't sure what I was going to do with it, so I experimented a little bit, and I'm learning the hard way that this particular thread is a little diva and doesn't like coming out of a quilt!

I decided on swirls in the middle of the bow-ties and a flower motif around the bow-ties. 

I used a metallic thread by Wonderfil.
It comes in tubes of four different colors, and Wonderfil has different color-ways to choose from.
I'm not sure if it's polyester, rayon, or a blend, but it was wayyy fussy on the machine. I suppose that's because it's wrapped with the metallic stuff that makes it shiny. Oh well. It still turned out really nice :)

At this point, I'm not rushing myself into finishing it. We won't be moving for several weeks, but I do need to get it done for my new (and hopefully improved!) sewing room =D. 

Speaking of moving. The house we looked at that we really liked is a no-go. The seller decided to take it off the market, and wasn't very gracious or nice about the whole situation, especially when she was told she had a prospective buyer.

Oh well. There is another house we are looking at tomorrow morning, so the search continues!

Anyway, that's the progress I've had on that project.

Tuesday, June 28, 2011

Quilt-along Block #4

Okay, so over the weekend, we got a buyer for our home! We went back and forth a couple times, but we settled on a number that everyone was happy with! Now I'm homeless! :)

I'm sure we'll find something shortly. We've looked at several places, and I really liked the last one we looked at, but we're having problems with the seller. So, now it's just a waiting game to see what the seller wants to do.

Okay, so let's get down to business! We're going into week four of the quilt-along! I hope everyone is coming along nicely. Don't forget that if you get stuck, have any questions, etc. just shoot me an email. I always respond within 24 hours, and most days it's much less than that.

So, for this tutorial you will need the following -

In a background print -
2 squares, 2 7/8" each


12 squares, 2 1/2" each


8 rectangles, 2 1/2"x4 1/2" each


In a plaid print -
2 squares, 2 7/8" each


4 rectangles, 2 1/2"x4 1/2" each


For the main two colors,  from each - 
4 squares, 2 1/2" each


2 squares, 2 7/8" each


Using your 2 7/8" background squares and your pink plaid 2 7/8" squares, make four half-square-triangles.


With your two main color (mine being the pink dot and the blue dot) 2 7/8" squares, make four more half-square-triangles.


Now, take your plaid rectangles and your 2 1/2" background squares and make four flying geese units.


To make these units, I sew each square on separately. Meaning, I sew on one square, trim and flip it, then repeat for the other side.

With your background rectangles and your main color 2 1/2" squares, make four more flying geese units, using the same method.


For assembly of the block, you will take your main-color HST's (half-square-triangles) and make a pinwheel. This will be the center of your block.


Arrange the units of your block like this -

Sew together.

Add your 2 1/2" border.

And you're done! I really like this one :). Probably one of my favorites, so far!

Hopefully, we will have some good news in the house-hunting department, later this week!

Sunday, June 26, 2011

The Lazy Angle Ruler - A review

Okay, so one of the things I got for my birthday was the Lazy Angle Ruler, with the gift certificate hubby got me.

I had been scoping out this ruler for a few weeks. I wasn't sure how to use it, or weather it was too advanced for me. Well, upon further inspection I decided to get the ruler. 

I also borrowed this book from one of the shop owners.
Lazy and Lovin' It

If you plan on getting the ruler, the book is a must-have. It shows you how to use it, different blocks and how to assemble them, and it's just a great addition to your library!


So, the ruler is relatively easy to use. I say that only because I had the book to constantly refer back to!

I'm a newbie. I've been quilting for 6 months, and once I read the directions on cutting and assembly, the block went together like a summer breeze :).


All that being said, I love the ruler, I love the book, and I'm purchasing my own copy of Lazy and Lovin' it :). I hope you found this review helpful. Don't forget, if you have any questions regarding any of my reviews, tutorials, or if you're a newbie like me and need some tips and tricks I've learned along the way, just shoot me an email ;). 

Saturday, June 25, 2011

Summer

So, I thought I wouldn't loose any momentum when the summer months started. 

But, as the hot, sunny days come and go, I have found that there is simply too much to do around here!

For instance - 

We got an offer on our home and now it's under contract! That means we're going to have to start seriously looking for a new place. 

We'll also have to start packing soon, so the house will end up being in chaos. But that's nothing new ;-). 

Gardens need tending to, dogs need walking, mini vacations must be thrown in there somewhere, and just some good, quality time with my family is in order.

That being said, I'm sorry for not writing as much! I did get a few things done, and I reeeally want to show you, but there really is not enough daylight! 

That's how the summer is going to be, I think. Posts will be sporadic, unannounced, and unplanned.

One thing that won't change - The summer quilt-along that's going on right now! I'll continue posting the new block every Tuesday. 

In the meantime, watch for a review of the Lazy Angle ruler (a birthday present) and what I made with it! 

I'm hoping that will be up tomorrow...But then again, it's summer :).

Tuesday, June 21, 2011

Quilt Along, Block #3

Hey, all! Thank you so much for the warm wishes for our anniversary! We had a lovely dinner out, but now I'm ready to show you block #3 of the Q.A.!

Disclaimer - I had to do the pictures for this tutorial in two different locations. I am sorry in advance for the differences in color value with the pictures. If you have any confusion, feel free to shoot me an email!
Okay, so for this block you will need the following - 

From a light color print:
1 square, 6 1/2"x6 1/2"

2 squares, 3 1/2"x3 1/2"

1 square, 3 7/8"x3 7/8"

2 rectangles, 3 1/2"x6 1/2"

From a pink print, the light color print, and a green print - each:

2 squares, 3 1/2"x3 1/2"

Edit - I only use two of these green squares. Sorry for the mix-up!


1 square, 3 7/8"x3 7/8" of each of the prints shown above. 

From another green print:
4 squares, 3 1/2"x3 1/2"

From a medium/dark print:
2 rectangles, 3 1/2"x 6 1/2"


Okay, so now that you have all of your pieces together, take your 3 1/2" pink and green squares and sew them down like this - 

Cut off the excess, press the seam back, and repeat for all four sides. This is what you should have - 

Now, you have four rectangles. Using the same method as posed above, sew down a 3 1/2" square. Cut off the excess, press the seam back, and repeat for the other side, only you will have squares on just the one side of the rectangle.

Now, take your 3 7/8" squares, and make some half square triangles. I use this method. You should have 4 half square triangles in all. 


Arrange your pieces to assemble your block.

Assemble the block, and add the borders.


And there you have it! 

I have to be honest with you guys, I don't know what I was thinking with these fabrics. I must have been smoking something really good when I pulled these out! (kidding!). But it has been a crazy weird day and my mind has just been all over the place. So I do apologize for a totally weird looking block ;-). I know you'll forgive me :-D.

One year ago...

I married this boy.

Two years before that, I met said boy. 

Who knew he would be my high school sweetheart? 

We have had the amazing opportunity to spend the rest of our lives together. 
The only reason I look forward to getting older is that I know he'll be right beside me, getting the same wrinkles and the same gray hair ;). 

I love you, John! 


(P.S. - Block #3 for the quilt-along is coming today...after I get some shut-eye!)

Sunday, June 19, 2011

The Supreme Slider - A review

Okay, so for my birthday a few weeks ago, I got this - 


It's a piece of silicone-like material with a slippery side and a sticky side. In the very center, there is a little hole and it fits right over the bed of your machine.

Machine quilting has always intrigued me, but I've never been that good at it. 

So, I put together some pinwheels and made a little doll quilt for my youngest niece. 


The Slider made all the difference! Before, my movements were very jerky and I would have a lot of drag on my machine. The Slider removed the drag completely and made my movements so much more fluid! 


The Slider is a little on the pricey side - about $35 (yikes!). But I really think this is a good investment if you plan on doing a lot of machine quilting. The only thing that was a little annoying is you have to take off the slider to change the bobbin (if you have a drop-in bobbin machine), but I wasn't very annoyed by it.

I have heard other quilters who use a piece of clear vinyl, but I don't know how they get the hole in the center where the needle goes. I'm kinda lazy, so I wouldn't want to worry about cutting the vinyl to the right size, then worrying about the hole in the center. The Slider just seems a lot easier all around ;-). 

I hope you're all having an amazing Sunday! 
Have you done any machine quilting? Does it scare you like it does me? Any other tips and tricks from the experts? I'd love to hear!


Wednesday, June 15, 2011

Still progress...kinda.

Remember when I told you about this quilt top

Ha. Yeahhh...about that. I'm almost positive it's not getting done this week. 

I tried! I promise =D. 

But, life just has a way of...well...getting in the way =(.

My mom and I found out about 12 hours ago (Wednesday) that our neighborhood yard/garage sale is tomorrow (Thursday) through Saturday. 

Yeah. So rush home we go, to try and set up for this shin dig.

Okay, so in the midst of getting some groceries, I find out that there is a showing on the condo on Saturday. (New readers - we put our condo on the market about a month ago. Several showings, all positive, but no bites yet.)

So. I am running around like a chicken with my head cut off. 

Thank goodness hubby will be home tomorrow and Friday to help clean our abode. 

So, that's my explanation as to why I probably will be a little quiet for the next couple days.

You know I love you guys, and I'm sorry! Trust me, I would much rather be sewing.

Quilt Along - Block #2

We're entering the second week of the quilt along! I hope everyone is getting their first block together nicely. If you have any questions, just send me an email. I don't bite ;). 

EDIT - I've been having problems with Blogger. I tried posting the tutorial last night, but for some reason, I couldn't upload pictures! Arg! I am so sorry. Is anyone else having this problem??

Okay, so for block #2, you will need the following - 

4 - 3 7/8" squares in coordinating but contrasting prints.


4 - 4 1/4" squares in coordinating but contrasting prints.


Borders - I use 2 1/2" strips in white.

Cutting the squares -
Cut the 3 7/8" squares in half, diagonally, making 2 half square triangles.


Cut the 4 1/4" squares in half, diagonally, twice, making 4 small triangle.


 Sewing -
Okay so now you have a set of larger triangles and a set of smaller triangles. Take two of the smaller triangles and sew them together. Add on a larger triangle, making a square. Repeat until all the triangles are sewn together.
Sewing the two smaller triangles
Adding the half-square triangles, making a square


Arrange the squares into 4 hourglass blocks and sew together. It should look like this -


Sew the four pieces together. You will notice that the four sub-blocks make a pinwheel in the center. Make sure your placement of each small triangle is correct so that the colors alternate.


Add the borders.

And you're done!
Don't forget, if you have any questions, just give me a holler! ;)

Popular Posts